Categories: Electrical Reviews
Number of views: 59390
Comments on the article: 17
Electronic thermostat W1209 with Aliexpress
The thermostat is a control device to maintain a certain temperature with a given accuracy. It can be useful in various automation systems (refrigerator, greenhouse, pipe heating, boiler, ventilation, cars, etc.).
I admit that I am skeptical of such devices - I'm used to working with serious multifunction devices, so I will be very critical.
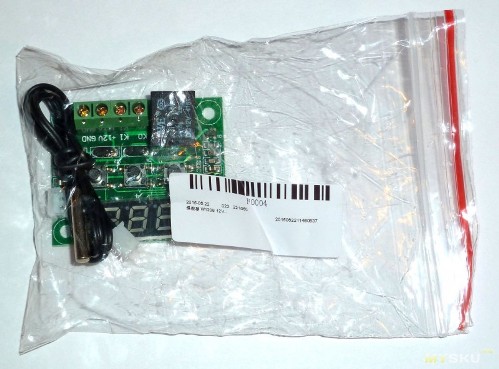
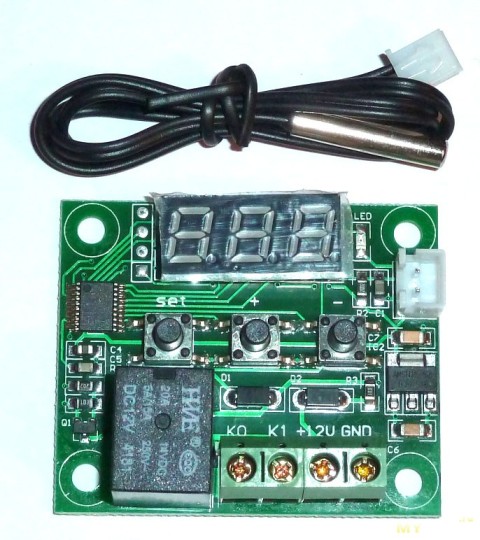
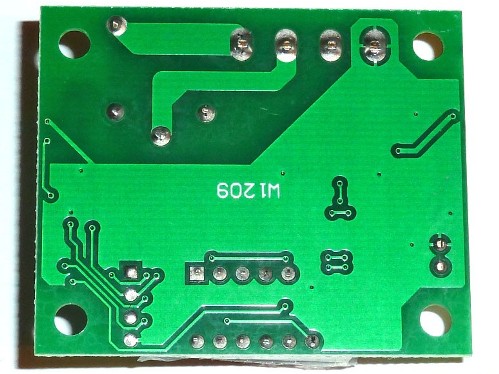
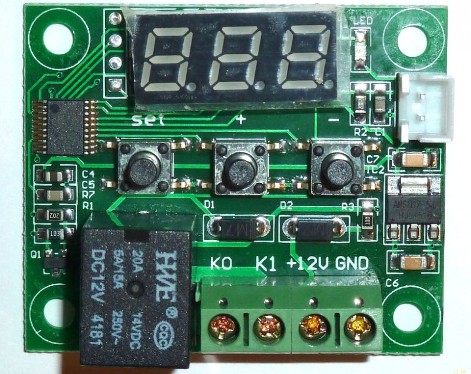
Board dimensions: 50x40x16mm.
The workmanship was pleasantly surprised, the board is almost washed, the installation is neat, all the details are in place.
However, the design is inconvenient for embedding - the indicator and buttons are recessed in relation to the relay and connectors. In mind, they had to be placed on the back of the board.
The red LED 3-digit indicator 22x10 mm shows the temperature up to tenths of a degree, the temperature below -10 ºС (up to -50 ºС) and above 100 ºС (up to 110 ºС) displays without decimals, because There are not enough indicator bits. The setpoint discrete is set by the same principle.
The red LED on the board simply duplicates the relay.
3 control buttons: set, +, -. set - selects the setting mode and parameter settings, + and - change the value of the setting and parameters.
The + button was more logical to put on the right, and not in the center, because according to common sense, the magnification should be above or to the right.
In mode C (cooling) it works as follows: while the temperature is below the set point, the relay contacts are open, when the set temperature is reached, the relay contacts close and remain in this position until the temperature drops by the value of the set hysteresis (by default 2 ° C).
In H (heating) mode, it works the other way around.
The control relay is 12V with NO contact, it commutes current up to 20A (14VDC) and up to 5A (250VAC).
It would be better if the relay was installed with a switching contact and all 3 outputs were output to the connection connector, while the scope of application of the thermostat is slightly expanded.
The thermal sensor is a 10kΩ thermal resistance, hermetically sealed in a protective metal cap. The cable length is 30 cm (stated 50 cm), but if necessary, it can be extended.
Setting parameters with decryption:
-
Setpoint temperature -50 ºС 110 ºС, default 28 ºС
-
P1 - switching hysteresis 0.1 - 15.0 ºС, default 2.0 ºС. Unbalanced (minus the setpoint), reduces the load on the relay and the performer to the detriment of the accuracy of temperature maintenance.
-
P2 - the maximum temperature setting is -45 ºС 110 ºС, by default 110 ºС. Allows narrowing the setpoint range from above.
-
P3 - the minimum temperature setting is -50 ºС 105 ºС, by default -50 ºС. Allows narrowing the setpoint range from the bottom.
-
P4 - correction of the measured temperature -7.0 ºС 7.0 ºС, default 0.0 ºС. Allows for simple calibration to improve measurement accuracy (offset only).
-
P5 - response delay in minutes 0-10min, default - 0 minutes. Sometimes it is necessary to delay the response of the artist, it is critical, for example, for the compressor of the refrigerator.
-
P6 limitation of the displayed temperature from above (overheating) 0 ºС-110 ºС, default is OFF. It’s better not to touch it, because if the setting is incorrect, the display will constantly display “---” in any mode and you will have to drop the settings to the default state, for this you need to hold the + and - buttons pressed at the next power-up.
-
The operating mode is C (cooler) or H (heater), the default is C. In fact, it simply inverts the logic of the thermostat.
All settings are saved after power off. No additional and tricky settings (PID, tilt, processing, alarm) were found, but they are not needed by a simple user.
At temperatures below -50 ºС (or when the sensor is turned off), the indicator displays LLL.
At temperatures above 110 ºС (or when the sensor is shorted), the indicator displays HHH.
An interesting feature - the speed of updating the temperature readings depends on the rate of change of temperature. With rapid changes in temperature, the indicator updates the readings 3 times per second, with slow changes - about 10 times slower, i.e. digital filtering of the result to increase the stability of readings. .
The real scheme of the thermostat:
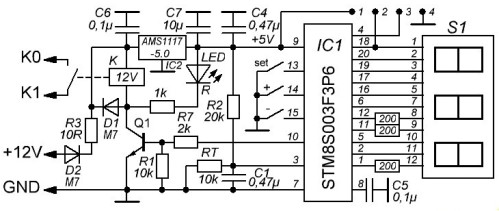
The control controller is STM8S003F3P6. The reference voltage to the temperature sensor and controller power supply are stabilized 5.0V on AMS1117-5.0. Thermostat consumption current in the mode of the disconnected relay 19mA, switched on 68mA (with a supply voltage of 12.5V).
It is undesirable to connect a supply voltage below 12V; The relay is supplied with voltage 1.5V less than the supply voltage. It is better that it is slightly larger (13-14V). Current-limiting resistors on the indicator are in the discharge circuit, not segments - this leads to a change in their brightness depending on the number of burning segments. It does not affect normal operation, but it catches the eye.
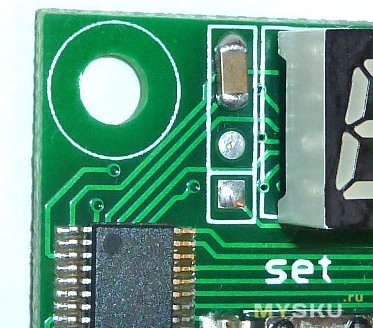
The RESET input (4 pin) is output to the programming contacts, it has only an internal high-impedance pull-up (0.1 mA) and the controller sometimes falsely resets from strong spark noise nearby (even from a spark in its own relay), or if the contact is accidentally touched by hand.
Easily corrected by installing a 0.1 μF blocking capacitor on a common wire.
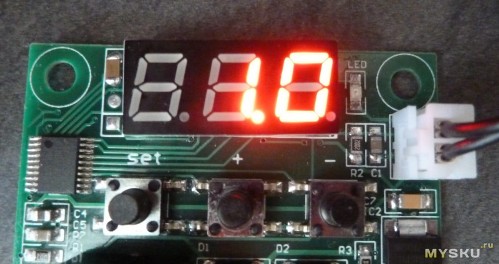
Verification and calibration was carried out classically at two control points 0 ºС and 100 ºС. In water with melting ice, it showed +1 ºС

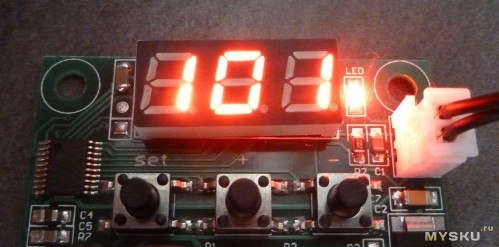
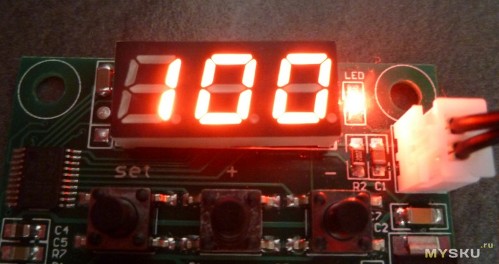
In a boiling kettle, the temperature showed 101 ºС
After entering a correction of -1.0 ºС, water with melting ice showed -0.1 +0.1 ºС, which suited me perfectly
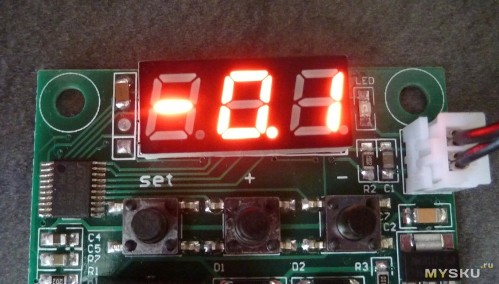
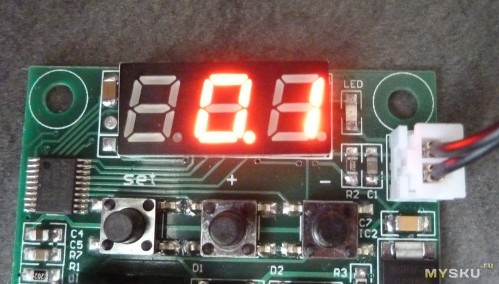
Boiling water began to show normally 100 ºС
Advantages:
-
Versatility
-
Sensor on connector included
-
Calibration capability
-
Small dimensions, weight and cost
Disadvantages and features are detailed in the article. Conclusion: a useful and, in principle, working very inexpensive device.
See also at e.imadeself.com
:
