Categories: Featured Articles » Sharing experience
Number of views: 86188
Comments on the article: 22
How to make an LED from a compact fluorescent lamp
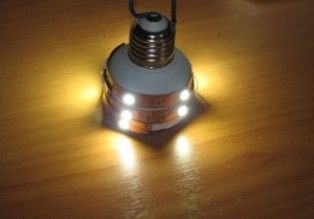
 From a burnt compact fluorescent lamp, you can make a replacement for it and at the same time it will be almost eternal. I will tell you how to do it.
Assembly: The burnt-out compact fluorescent lamp must be carefully disassembled and the new circuit soldered by hinged mounting directly inside the base. Leave the fuse that was in the lamp. Diodes 1N4007 are extracted from the board of the same lamp. To them we add a capacitor 1mkf 630 volt K73-17 and one electrolyte.
The electrolyte is suitable for almost any voltage of 50 volts or higher, well, and with a capacity of more than 100 microfarads. Still need 4 pieces led strip. As a rule, the tape is produced so that it can be divided into pieces of 12 volts.
In this case, on one such piece 3 LEDs. Cut 4 pieces of 3 LEDs and turn them on sequentially. So that the parts do not hang out, inside the base they can be glued with any glue. Cut out a base extension from some material. I used foam board - it is easy to process.
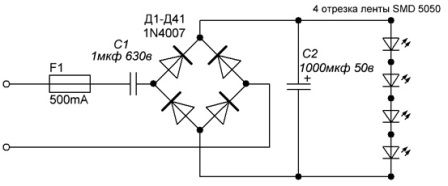
Homemade LED lamp power circuit
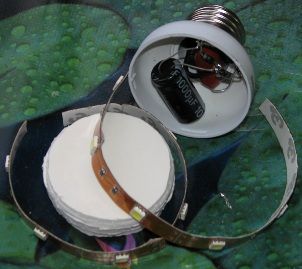
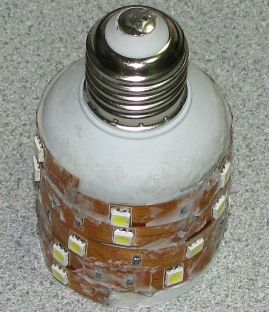
LED lamp assembly
Below in the photo is an almost finished “eternal” LED lamp. It remains to smooth out the irregularities with liquid nails and then dry, after which the tape will hide under the white liquid nails and it turns out that only the LEDs will look out.
While the liquid nails have not yet hardened, their surface can be made very smooth with water and the lamp will have a good appearance (almost like a real one). I put the same in the common corridor with my neighbors almost a year ago and since then I forgot how to change the bulbs.
Such an LED bulb already starts to glow quite well at ~ 40 volts, at 220 volts on a 3-diode segment 11.5 volts, and at 250 volts 12 volts, i.e. she is not afraid of any voltage drops.
It does not shine weakly. If each 5050 SMD chip gives approximately 10-15 lumens of brightness (in each 3 crystals as in 3528), then 120 ... 180 lumens are obtained. Perhaps the only drawback is galvanic communication with the network in an open form, i.e. when handling it, it is necessary to take this into account and take appropriate precautions.
And this is another, but it shines twice as much.
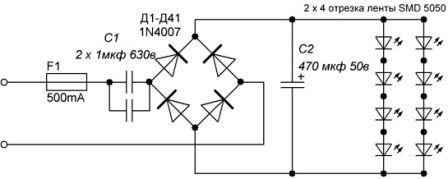
Another homemade light bulb, but 2 times more powerful than the previous one. It added another capacitor of 1 microfarad 630 volts in parallel to C1 and another 4 segments of 3 LEDs, which resulted in 24 LEDs and a total luminous flux of about 360 lumens.
Power scheme of a homemade LED lamp:
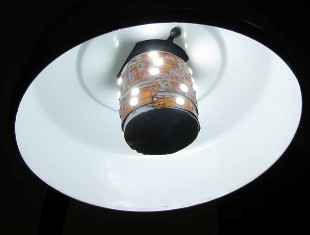
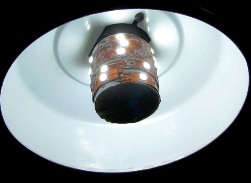
Ready-made LED lamp:
This bulb with Liquid Nails glue did not grease much. I inserted it into a table lamp. It shines so brightly that it overshadows daylight. (Photographed in a sunlit room)
With a consumption of about 6 watts, this lamp shines much stronger than a 40 watt bulb, i.e. the lamp will not only last much longer energy saving lamps, but also consume several times less energy. I used cold white LEDs, but if you like warm ones, then such LED strips are also sold and you can apply them.
See also at e.imadeself.com
:

