Categories: Electrician at home, Sockets and switches
Number of views: 26035
Comments on the article: 0
How to remove a wall outlet and disassemble it
Sockets are in every apartment, and they are used many times a day, they connect electrical appliances. Sometimes situations arise when you need to replace the outlet, transfer it, or simply remove it for the duration of repair and wallpapering. Although this is not difficult to do, safety precautions must be followed to avoid electric shock. In this article, we will look at how to remove a wall outlet and disassemble it.
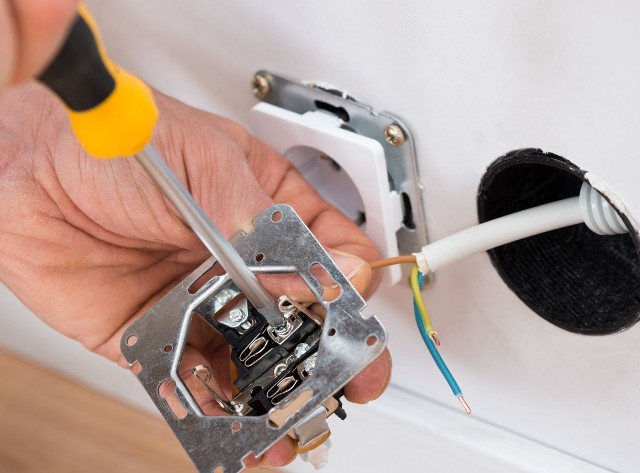
Outlet device
To carefully dismantle the outlet, you need to know its device. It differs depending on the specific model and manufacturer, but, in general, the design is the same.
Sockets are built-in and overhead. The built-in ones, as the name implies, are located inside the wall in the recess, and the invoices are fixed outside. Often overhead sockets are used if external wiring is laid or on thin walls, partitions, on furniture elements.
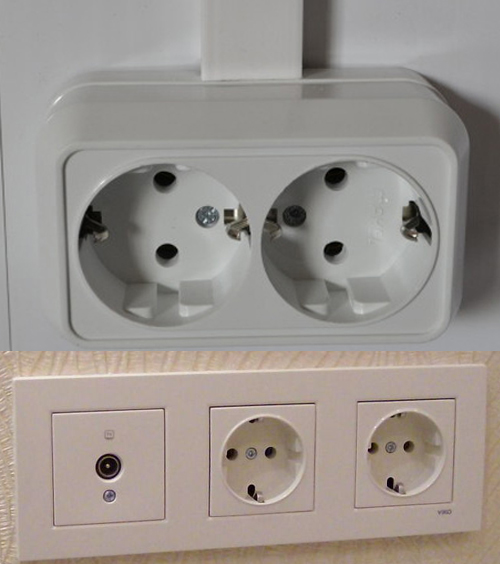
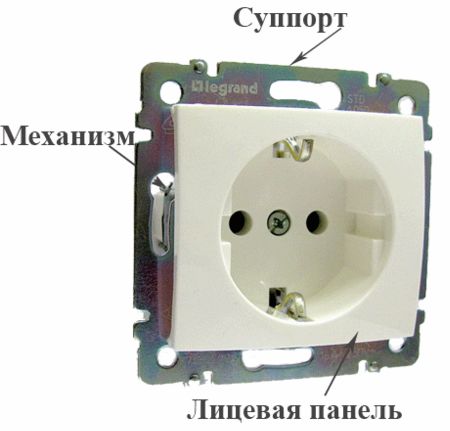
The device of the built-in outlet is shown in the picture below
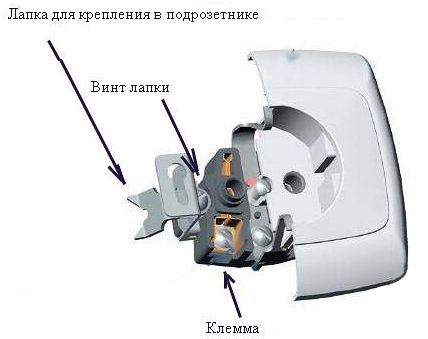
The socket consists of four main parts:
1. Socket cover.
2. Wall mount - expandable tabs.
3. Caliper - metal frame part of the housing.
4. Core - an insulator with contacts and terminals for connecting wires.
In the wall or in the socket, it is attached at the expense of the legs. They are attached to the core with screws when you tighten them - the screws of the foot open and rest against the seat (socket or wall).
Removal Procedure
First of all, before we do anything with the outlet, we take indicator screwdriver and check its performance on obviously working outlets or other voltage sources (lamp holder, circuit breaker screws, etc.). The indicator in it should glow when you touch the phase wire with a sting, and with your finger the contact nick on the end of the screwdriver, as shown below.
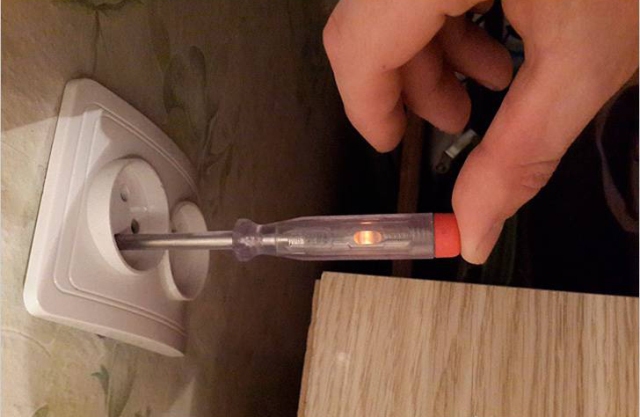
When you are convinced that the screwdriver is working - you need to turn off the voltage in the apartment or on this outlet group. To do this, find automatic machines or fuses that are in the electrical panel of the apartment or in the entrance to the site.
If you have plugs with fuses installed, they are twisted. Automatic traffic jams - click on the red button. If there are circuit breakers - the flag is lowered down, after which you will see the marking “O”, as in the photo below.
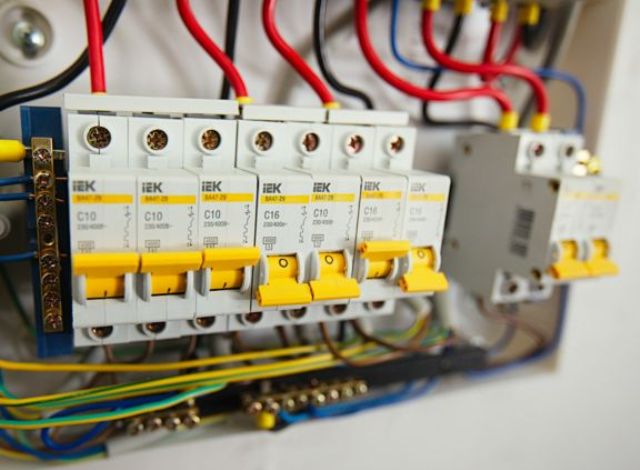
Now you need to re-check the voltage in the socket with an indicator screwdriver - if it does not light when you touch both wires, you can get to work.
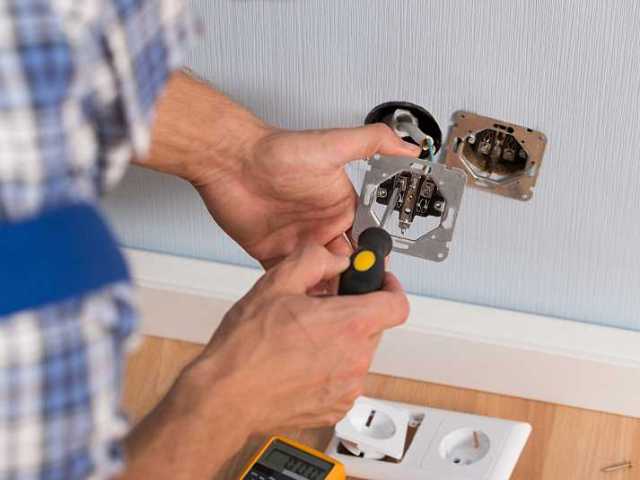
To dismantle the outlet, first remove the front cover, for this you need to unscrew 1 or 2 screws.
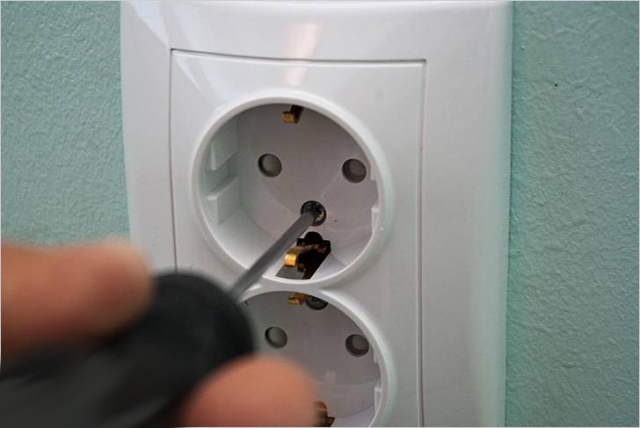
After removing the cover, you will see the following picture:
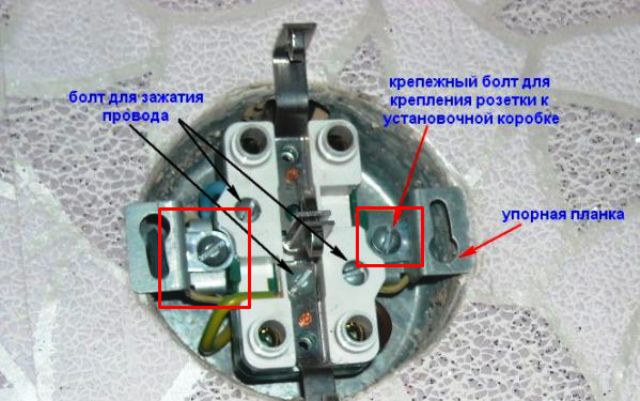
It is necessary to loosen the fixing tabs, for this the guilt circled by the red square loosens. Then the mount will loosen and you will be able to remove the outlet.
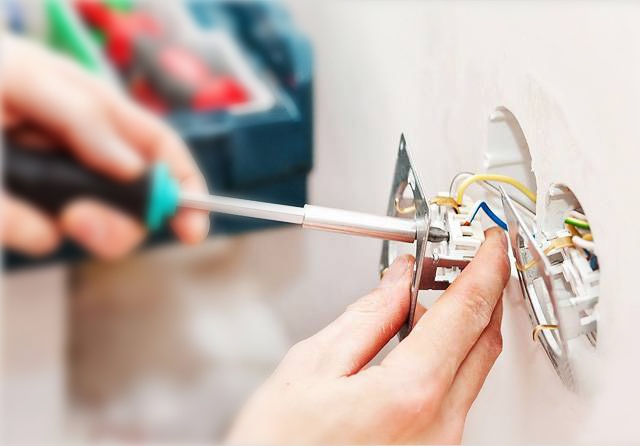
Now you need to remove the wires from the terminals, usually screw terminals are used, so we loosen the screws.
A clerical gum may be worn on the outlet - this is normal, it holds the mounting legs so that they do not hang out and fall out.
2 or 3 wires are connected to the outlet:
-
Phase;
-
Zero;
-
Earth (not always).
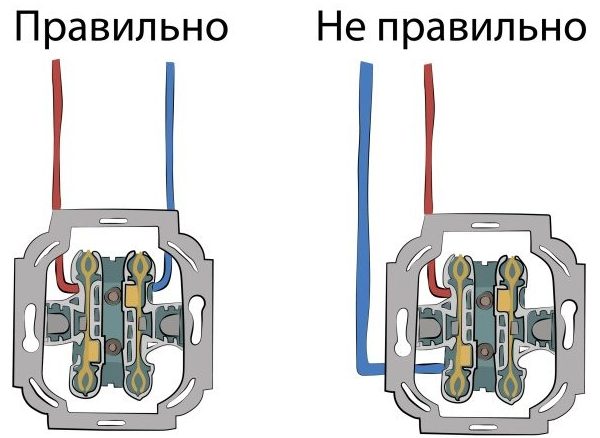
If you want to replace the outlet, do not make a stupid mistake and connect it correctly.
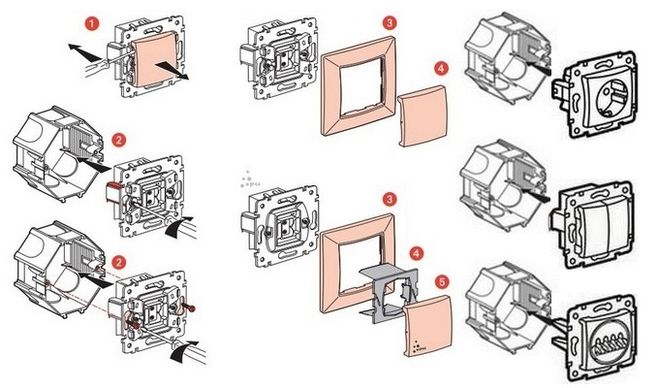
How to disassemble a Legrand outlet
Products manufacturer Legrand is very popular, but its design is often different from the common cheap outlets. The procedure for removing Legrand products is shown in the image below:
Below is the design of the sockets of this manufacturer, the Valena series.
And the design of the Celiane series:
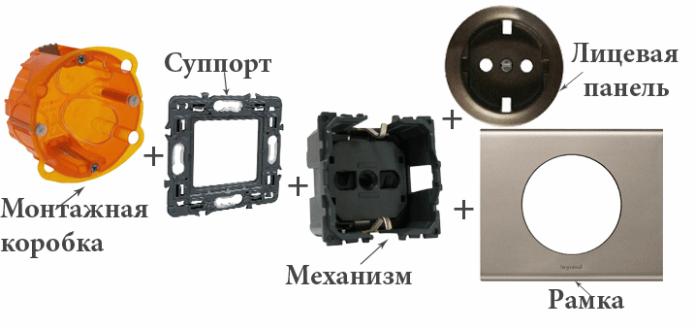
In both cases, first unscrew the screw that holds the front panel, then remove the frame.The front panel can be additionally fixed with a latch, and most of the structural elements are mounted on latches, so carefully examine it and use an awl or a thin screwdriver to remove it.
How to disassemble a Schneider Electric outlet
Products of another well-known Schneider Electric brand are disassembled in a similar way, but it is worth noting that on some models the front panel can be mounted without a screw, but on latches, as shown in the figure below:
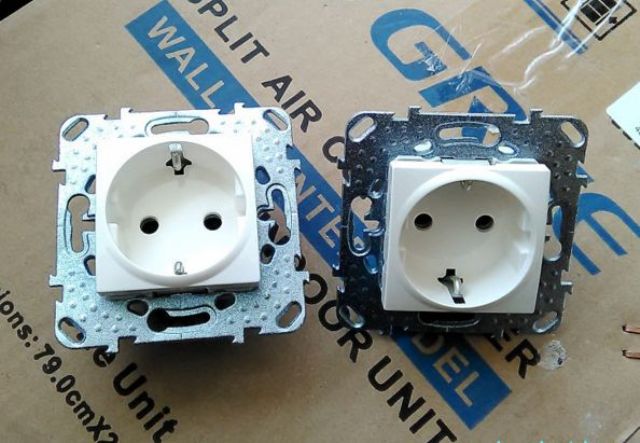
They sit tight, but are removed if they are pulled over.
From above, they are covered with frames and there is nothing to grab for removal. Therefore, to dismantle the outlet, you need to remove the frame. On the side of the frame they have a special groove for this, where you can insert a slotted screwdriver.
Conclusion
To remove the socket in most cases, a slotted and Phillips screwdriver is sufficient. The main thing is to de-energize the network before you do this and do not pull too much on the wires to avoid them breaking, otherwise you will have to rip up the wall and extend it. In principle, all sockets are disassembled similarly to each other, there are some nuances for individual manufacturers, such as latches or other structural design features.
See also at e.imadeself.com
:
