Categories: Sharing experience, Repair of household appliances
Number of views: 24705
Comments on the article: 2
Mobile phone headset repair
 This article provides an example of repairing the Nokia WH-205 headset with illustrative illustrations. This method is suitable for repairing any wired headset or earphones of a mobile phone.
Very often, owners of mobile phones are faced with the problem of failure of a wired headset (headphone). In this case, there may be no sound in the headphones or the microphone may not work. As a rule, a person acquires a new headset or gives an old one for repair. Why spend money if you can repair your headset yourself? In this article, we answer the question of how to repair any wired headset or headphones yourself.
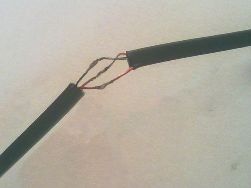
Consider a good example of repairing a Nokia WH-205 headset. The main reason for a headset malfunctioning is damage to the wire or tearing of the wire at the soldering point in the microphone unit or to the plug. To begin with, we inspect the headset.
In this case, the wires in the microphone unit are soldered normally. Next, we inspect the wire for visible damage. If the headphones work fine, the music does not disappear, and the microphone is faulty, then the wire is damaged in the area from the plug to the microphone. In the event of a malfunction of one or two headphones, the place of damage may be along the entire length of the wire.
As a rule, damage to the wire occurs as a result of its extension. That is, the alleged damage site can be detected by visual inspection of the wire. In this case, you should pay attention to changes in the thickness, color of the wire or other minor flaws. If the wire is torn as a result of stretching, then at the place of damage it is different in color, and also slightly thinner than in other areas. If a damaged area is detected, we proceed to the next step - repairing the damage.
To do this, cut the wire at the site of damage and strip both ends. For this purpose, you can use the blade by making a shallow cut around the wire. In doing so, proceed carefully, as damage to the conductor by the blade is possible.
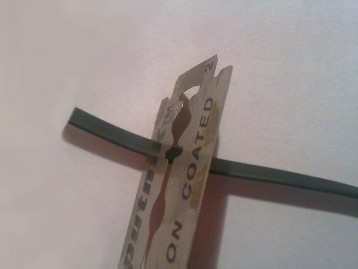
Wire stripping with a blade
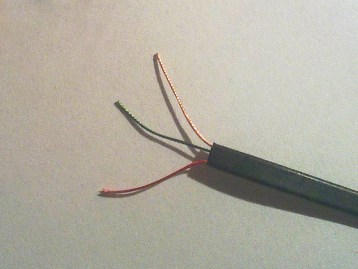
Stripped wire
After the wire is stripped it is necessary to clean the conductors from varnish coating. To do this, it is enough to bring the conductor to the fire for a split second.
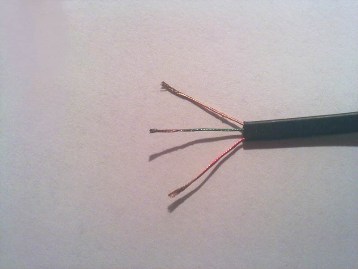
The cleaned ends of the conductors
After that, we put a small piece on the wire shrink tube, which will later be worn at the junction of the conductors.
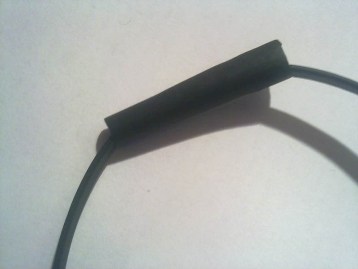
Heat Shrink Tubing On A Wire
Next, you can go directly to soldering conductors. When the conductors are soldered, it is necessary to insulate them from each other in small pieces of electrical tape. Then we put on a heat shrink tube and heat it to the required temperature.
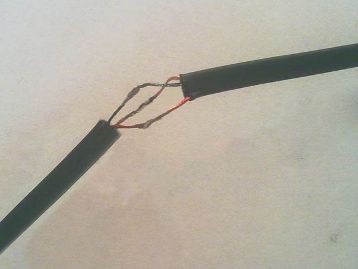
Soldered conductors
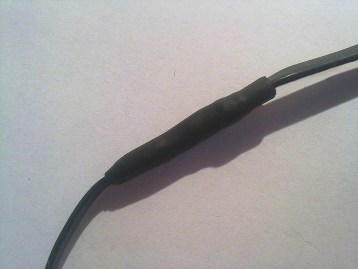
Ready Connection
Very often, the wire is damaged near the plug. If the wire is damaged a little further than the plug, then you can try to solder it. Then, as in the previous case, it is necessary to insulate the conductors and put on them a heat shrink tube.
See also at e.imadeself.com
: